Wednesday 25 February 2015

Millennium Falcon

The last ship that I am going to model before starting my animation sequence, is the Millennium Falcon. I started by blocking out the main body...


Blocking out


Select faces around and use 'Extrude'

Remember when detailing an existing model to always have a few picttues at hand to work towards.


use an image

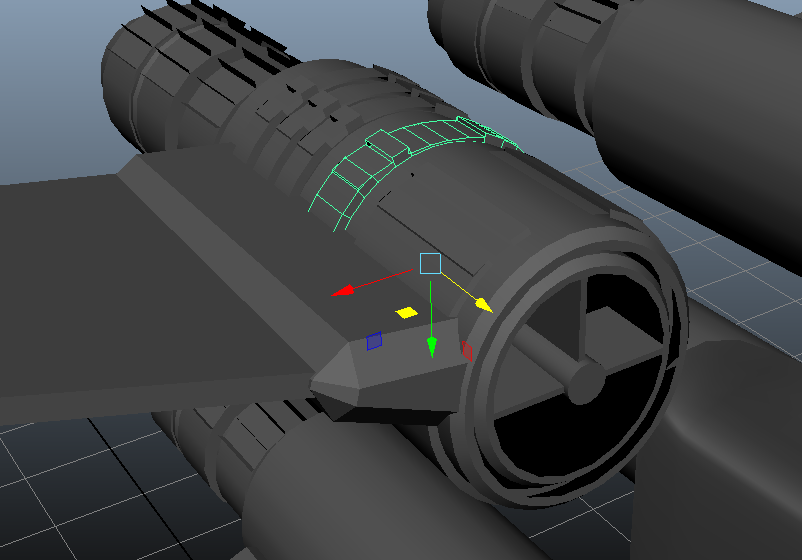
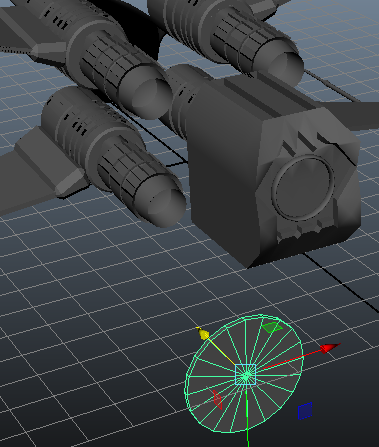
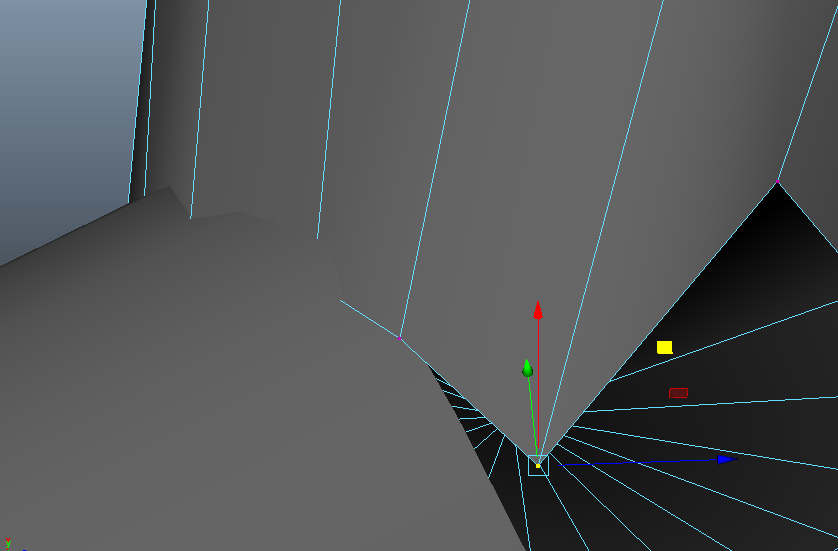
I then started detailing the turret.


Remember to detail away from your main object, and use the boolean-unite tool to erase unwanted faces etc..

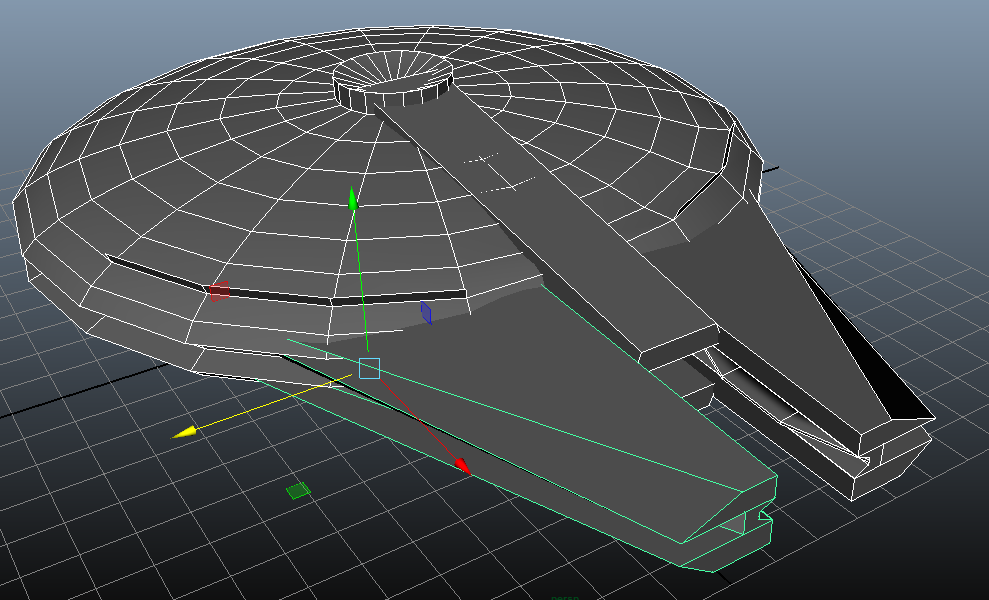
Next in my mind is to crreate the rectangle piece at the front of the ship, Firstly I thought to select all edges from the existing circular object, rotate and align them, and then work with those faces. That would have been a nightmare! So I created the object separately and inserted it into the circular one. Then i used the Boolean-unite tool. The Boolean tool is really helpful, the unite option combines two objects, taking away any faces that are not needed.


blocking out


From the picture the front 'nose cone' part of the ship is in two parts, a handy tool to use is the 'edge loop' tool.

blocking out


Move and manipulate your contours and then work on the faces that you need to using the move/scale/extrude tools at hand.


use the boolean tool


Repeat the process for the other parts of the front of the ship.


blocking out


detailing


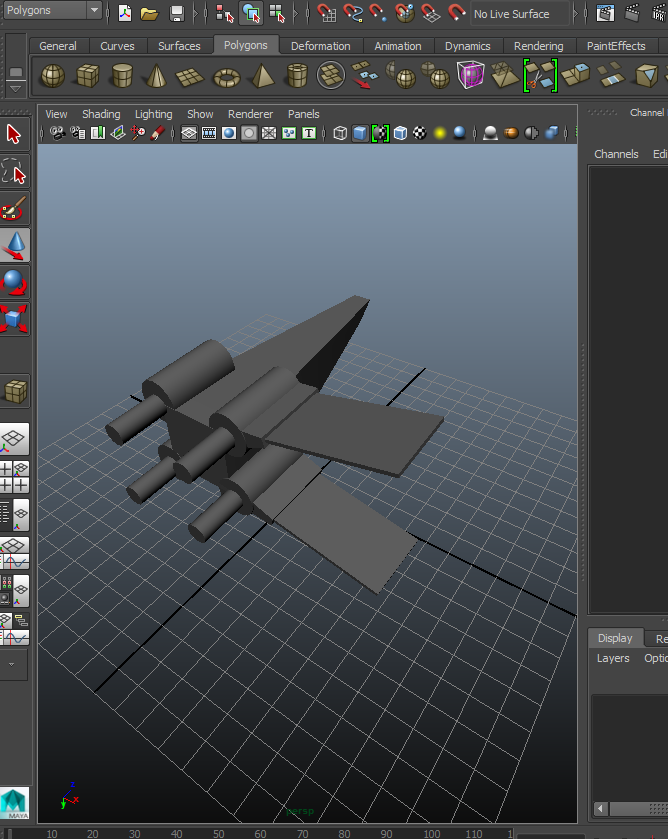
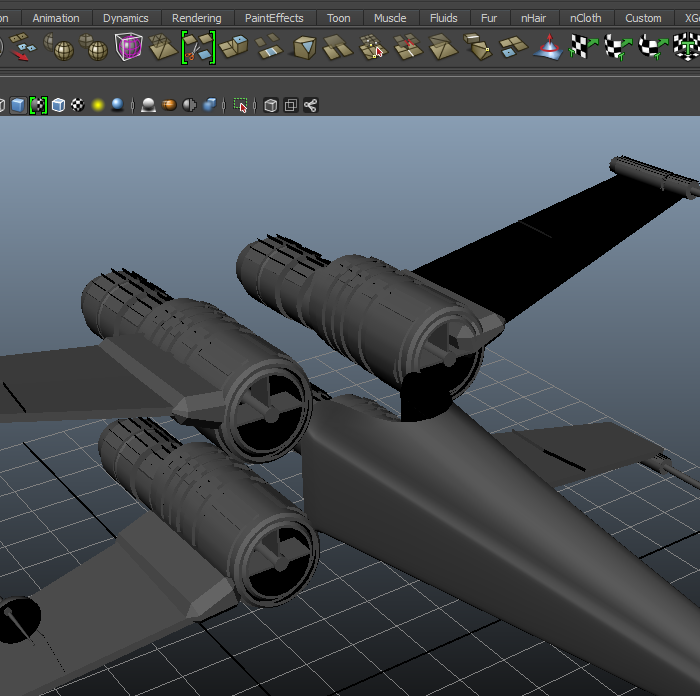
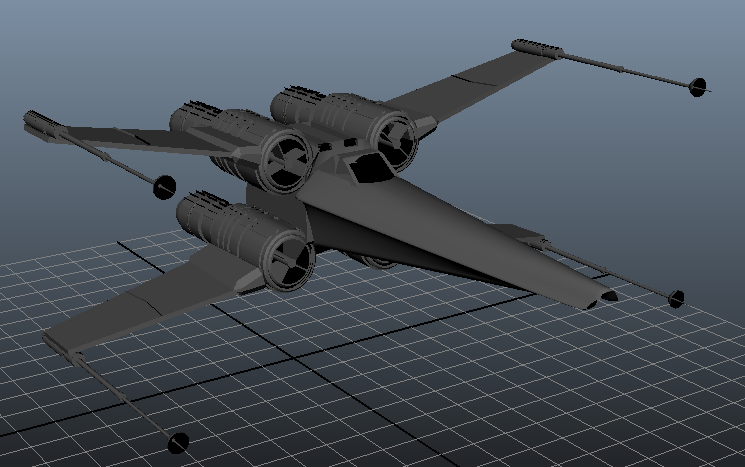
front complete pre-detailing.


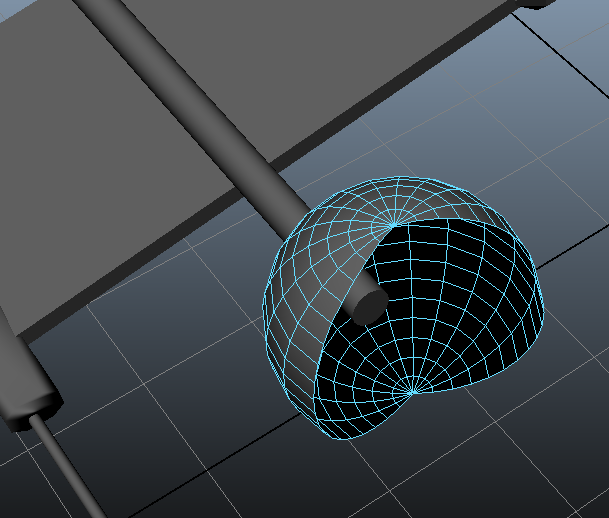
Next I detailed the side cockpit.


Using cylinders that are at an angle to one another can prove a little tricky, to join them precisely zoom in, and use the vertex selection. Drag them in accordingly.


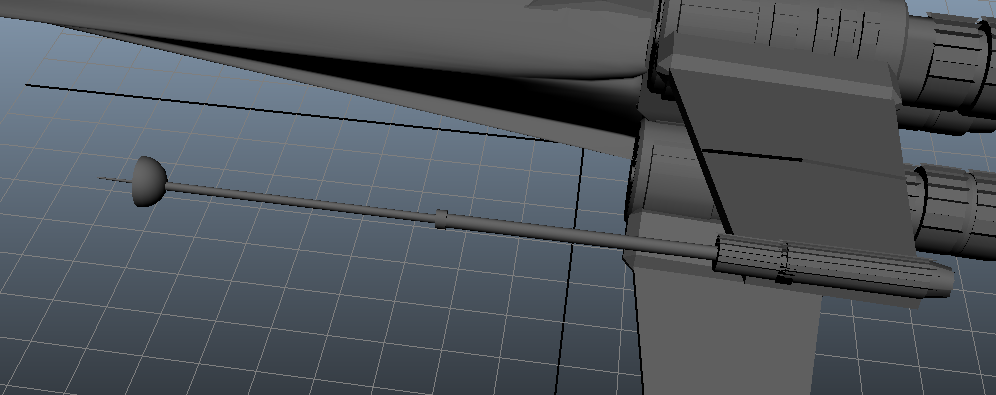
Use a few tools to add detail, extrude edges is always handy.
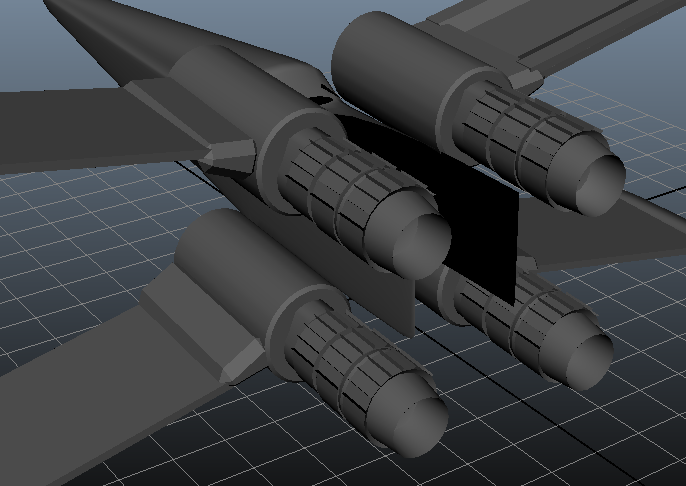


detailing 

Here is the finished model with details added.


Monday 9 February 2015

Exercise - FPS map model

So I am set the task to sketch and model a small derelict village that could be used for a first person shooting game, using techniques that I have already acquired. Here is the sketch;


Sketch of map

The four sourrounding buildings are similar, so I will start to block out one of them, and then detail that ready for duplicating around into each corner.

The 3 dimensional perspective view is not always ideal, so by pressing the space bar you can get a view from each pane, or you can select which view is required by selecting an icon on the left toolbar.

View planes


To precisely place your objects remember that the attribute editor is there, I used it to rotate my first building by 45 degrees exactly.

Attribute editor

# Handy Tip - To align your objects precisely, there are the snap settings, but also the align tool By selecting the object to be positioned, and then 'shift-selecting the second object, you can use the handles to chose the perfect place for positioning.#

Starting to detail I added a doorway, a window and some exposed purlins showing damage to the roof.

Adding detail

Then used the duplicate tool (control-d) and positioning tools to position the buildings appropriately.

Duplicate


This is a class exercise and I really want to carry on with my star wars ships so I will use the same models for the inner buildings, slightly scaled down and mirrored. The doors after scaling down were obviously to small so I removed the faces of the wall around the doors.

Anti-hobbit style door technique

Here is the result.

duplicating 

The final building I decided to import my previous 'witch tower' Esq. house already created. The easiest way to import an already created model for this quick project was to navigate to the desired file on your operating systems file management system, and simply drag and drop it in.

importing a previous model

Now the design is complete, here is an overview.

finished village

birds eye view

Sunday 1 February 2015

X - Wing

X Wing Creation.

The first step is to Block Out, using tools previously mentioned (edit mesh, add divisions, extrude, move,scale, and duplicate) for the thrusters to achieve the initial shape required. 


Blocking Out


I started work on the thrusters firstly, I fdind if you detail part by part with fine precision, and take your time on each part individually, the outcome is really good.

A good way to scale only the edge of an object is to select all edges around the shape carefully one by one. Be sure that you are not selecting background edges by mistake.


By selecting the vertex in the center of the thruster you can then move it inside of the thruster to create an opening effect.


No need to repeat the modeling process, simply duplicate the thruster as required.


Body detailing

To create an opening in an object. create contours using the add divisions tool within the edit mesh menu, select the faces and simply delete them. I have created an opening for an air intake on my boosters. Added flat and round objects within to add the detail.

#To delete an object face etc, an item does not have to be selected, simply hover over it and hit delete.#
Boosters complete

#When moving and positioning objects be aware of your snap settings as they will make life difficult if the wrong ones are selected,#

When happy with the design organise all parts into a layer group, You can then easily select all objects within that group which is really handy.

See the option tabs next to the layers and notice the model itself. the 'v 'allows you to tab on and off the visibility of each layer group, the next tab can be toggled to 't' (see wings layer) which turns the layer into a wire frame model, and the 'r' locks the layer so it cant be selected.


Turret Design
To create the turret gun casing i created a globe and then selected half of the faces to delete so to end up with the half sphere effect. To be honest half way through I realised that it just was taking too long so next time I will find an alternative technique.


Turret Creation
A good technique i used to add a little detail to an object, with this thruster barrel, I duplicated the barrel first instead of creating another object, thus eliminating the need to position the object again. I then scaled the object in two different panes to the required size and used the extrude tool to drag out a few selected faces.


whilst modeling the cockpit I found it easier now that there are more and more detailed objects being created, to keep the piece you are working on away from the main objects until complete, and then to position them.


X Wing Complete


With a little re-shaping of the nose cone I am pleased with the end result. Not sure If I will keep the pilot for the final animation though...