Thursday 29 January 2015

Story Board

Project Time


So the reason I made this blog is for a university assignment, and the short brief is to create three 'Star Wars' 3D models, and then animate them into an animated scene. Pretty cool right. anyway here is my idea base on a few star wars ship models...


I am thinking of a possible story to create, because I am not only creating models, I am going to put them all into an animated sequence.

Here is my story board that I will be working towards/


I forgot to publish this post before my previous one so apologies for any confusion.

STAR WARS BEGINS

STAR WARS BEGINS

So the basics have been described in the previous post, now I am going to put those principles into practice. My first assignment is to create three star wars spaceship models. My first choice was the 'Dark Sides' Interceptor.

I will continue to add notes and snapshots at various points along my Maya journey, any tips or advice or any problems I encounter I will make sure to log along the way.

Using the tools described previously (edit mesh, add divisions, extrude, move, scale, duplicate) Maya makes it really easy for you to create the initial object form. From manipulating shapes or adding new ones to it. This is called 'Blocking Out'. Creating a shape ready for detailing.


.

As well as always adding more objects to create a desired shape, move, scale and extrude tools can be used on faces and edges to do the same job just as efficiently.


Just take care when selecting what part of your model you actually want to modify.

When you are happy with the design of the model, organise all objects into a layer group.This allows you to easily select all objects within that group (#which is really handy#) among other tools you will find very useful.


Objects can be merged and attached  to different objects, you can use the combine tool firstly, and then merge. The opposite can be achieved with the 'Separate' icon.


Vertices can be added manually between edges by using the cut tool. very handy, the cut tool can be snapped to faces or edges, and then when done can be realigned to straighten it off.


# Handy Tip - if you click off a selection that you weren't finished working on, simply hit undo (control-z) to select them again quickly.#

You can create an opening in an object by creating divisions within it, and then selecting faces that you want to be gone, and then hit delete.


Simply manipulate views, and rotate/scale/move the object into position.


I selected the front face and scaled it inwards slightly to create a more realistic effect.

Modelling an object can be made easier by either turning off certain layers around it, or simply moving it from the main object, on an X,Y or Z plane (making it easier to re position afterwards).I created a tube object, positioned it, and then duplicated it around the window partition,


* I did encounter a problem - when I positioned the window opening, some of the square faces of the ship body were showing through the front. To resolve this issue I selected these faces, and divided them into smaller segments, and then deleted the troublesome ones.


Once you have finished modelling you can position your object, life is made so much easier than always selecting nearby edges or faces constantly.

Once you get the hang of the basic functions in Maya (view adjusting, object creation and positioning, object manipulation) Maya makes it so easy for you to go into detail, and allows a beginner like me to create great models.

#Handy Tip - If you find that you want to reduce the amount of poly lines that you have created on an object, a quick tool is available, check the toolbar above the view port for a quick access tool.#


Wing Detailing

I recommend to always have a picture at hand to help you model to, when trying to replicate an existing model. here is the one that I was using.


You can see all of the detail on the wings and body. So I used previously mentioned techniques to detail my Interceptor.

I created all the poly lines with the cut tool, and created depth at all parts of the wings where needed.

Again I pulled away the wing from the main ship to make it easier to add detail.


Created detail to certain parts by selecting faces and using either the extrude,  move or scale tools.

Created my Interceptors guns using the tube creation tool, and duplicating them for ease of positioning.


I detailed one wing, deleted the blocked out one and then duplicated the finished one to then rotate it and position it.

However when coming back to look at the model it was completely out of shape. The wings weren't the same shape at the top and the bottom. I did not want to try to completely remodel the whole wing to be exactly the same as the other.

I had to try and find a way to try and mirror my wing (easier said than done!).

After a little research I found that I could use within the edit menu, 'Duplicate Special. Then chose 'Instance', and then within the scale sub set choose a - in the axis that you require. I had to choose the z axis and it worked a treat.


However, my mirrored instance of the original object was completely black.


So that didn't work for me very well. By using 'Duplicate Special', all of the faces became inside out, and my mirrored object was not created properly, not being able to reflect any light.

With a little research I found a possible solution. With the object selected, I went to the 'Nomals' menu and used the reverse tool, that resulted in success! I was really happy for a split second,and then it became clear that the original wing that I used to mirror had turned black!

The next technique I came across was to use the 'Mesh  - Mirror Geometry' tool. This worked also but created an object that was attached completely to the first. This meant that I was unable to work on my mirrored object individually and I could not position it. I tried several techniques ('Ungroup, Separate') but I could not find a way to make them separate objects.

I then tried the tool freeze transformations within the edit menu (I really didnt want to model the wing again to be similar to the first), set the 'normals' within the options to 'freeze normals', tried it with the 'Duplicate Special' tool,. Still the same effect!.

The answer to my problem is that when duplicating the object to a minus scale it turns everything inside out. The solution was to go into the lighting settings, and activate 'two sided lighting'. What a long winded event that was!

Now you can see my final design. I'm pretty happy with this one.


Thursday 22 January 2015

Maya 2015

Maya 2015 - First lookMaya 2015 - First look

Introduction

Before diving into a first project I will be going through the essential tools and techniques that are required to start designing any 3d model.

Firstly lets take a look at the user interface we will be working with.


1. Indicates all the menu sets available.
2. Menus containing tools and acions.
3. Status line showing shortcuts for menu items and select/snap tools.
4. The shelf contains quick select tool options.
5. Panel toolbar containing commonly used tools.
6. Channel box allows you to view and edit attributes of selected objects.
7. Layers can be set to efficiently organise objects.
8. Toolbox containing select, move, manipulate icons that can be selected using q,w,e,r,t or y.
9. Quick view layout buttons.
10. Help Line.
11. Time slider used when creating animations.
12. Range slider allows you to set the start and end point of a scene.
13. Command line.
14. Playback controls.
15. Animation menu.

I will be using all of the above features in the coming weeks in more detail.

Maya organises a project in folders and subfolders. To create and then view these project files they can be found by going to FILE > PROJECT WINDOW. For Maya to efficiently find and run any 3d scenes it is advised to collate all files within the same project. To open a project use the FILE > SET PROJECT option firstly, and then open the scene required. This will ensure that Maya can find all the files that are required for the scene.

Object Creation


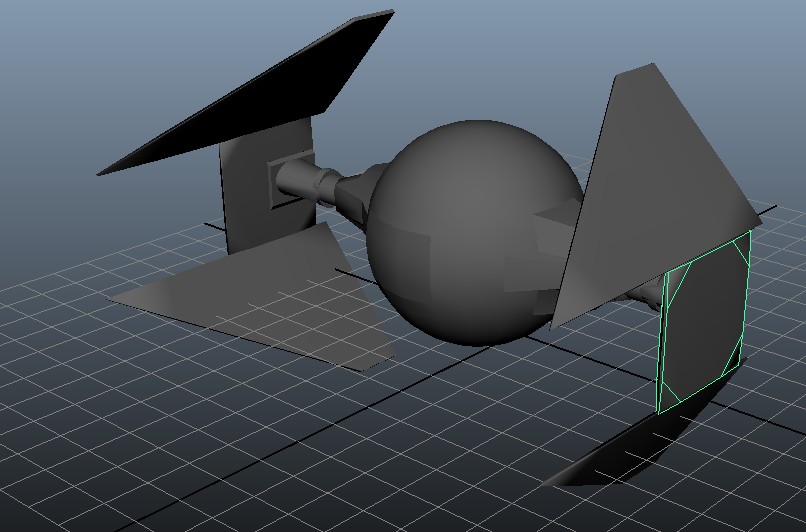
Objects can be created by using one of the polygon icons. Ensure that the Polygons tab is selected and then choose one of the shapes on offer, cube,sphere etc,. 

Once selected drag in the viewport to the required size and depth.


The exact size of the object is not essential as all objects can be manipulated in many different ways afterwards. One way to get a precise size is to check the channel box and alter the dimensions numerically to the desired size.

Moving Objects


The qwerty tools as mentioned previously can be used to move, rotate and scale objects to desired sizes. Each tool is similar because when an object is selected you will see various different coulred axis appear, and these are used to move or shape the object appropriately and precisely.


 As you can see from above there are four axis manipulators. This is using the rotate function. Simlpy click and hold on one of them to rotate (move or scale)  about that specific axis.The red, green and blue are very useful as they edit the shape only in that set direction. However there is always a free manipulator which comes in handy at times also that lets you have the freedom to edit in any direction.

Snapping


Snap points are used in various programs, one of which being AutoCad if you are familiar with that. It is a way to set specific locations on either objects or the grid within the workspace to literally 'snap' an object to. It is a way to precisely position objects around a workspace.

Object Editing


We have looked at the ways in which an object can be created and moved, but a series of cubes or a spheres is not going to create a very realistic 3d model. The way in which you can alter a shapes appearance is by firstly holding down the right mouse button on the shape to get a set of options.


Now we have the option to select a face, vertexes, edges all of the the shapes attributes can be individually selected and then in turn moved, scaled etc.


You can see with minimal effort just playing around with these tools a shape can be transformed in many different ways.

Just to let you know Im learning as we go also, Now lets try putting these techniques into practice...

Modelling a Low Polygon House


*Note - every time I hit a problem I will denote it with an * and explain why.

Using shape creators, the face selector and the extrude tool we can create a basic shape for our model. This is called 'Blocking Out'. Once I created a rectangle object (always remember to rename every shape you create) I added divisions using the EDIT MESH > ADD DIVISIONS tool. 


* First problem - I kept right clicking and selecting all faces, then selecting EDIT MESH > ADD DIVISIONS to the faces that I had selected, then encountering a situation where no divisions were added at all. I tried different techniques that worked, but then I finally realised that within the EDIT MESH menu subset you have to choose the correct one, whether it be because you are using the face tool or line tool etc.


I was using the edge add division and extrude tool rather than the face tools. *

After extrung the partitioned faces of my house object I found it really a usefull tool to add divisiond to a certain face, select a face and then select MESH TOOLS > ADD DIVISIONS, either horizontally or vertically. In this case to create a window design vertically was my chice.


I could then work on those specific faces, in this instance to create a window.

To create a wooden window effect  I used  the edge selection mode to select all of the divisions created between the windows and then used the extrude tool. A really nice way of adding detail


Another  handy technique I found is to use the edge tool to select all of the lines that i created just beneath the roof line, and then scale them up to create a widennng roof  effect at the top of the building.


Finally to create the roof I selected the faces of each extruding face, and simply moved those upward (the difference between the move and extrude functions, is that move drags all surrounding faces up with it with a gradient effect, whereas extrude moves only the face). I then added divisions to the main roof in triangle mode (it is a simple tick box to select), then chose the right click vertex option and chose the central point. Using the move tool I was able to create spire effects on all roofs.


And when finally adding my final spires I created my finished 'witch tower' esque building.


This was my first look into Maya, which in my opinion is an amazing piece of software. More posts will follow.