Setting up the Scene
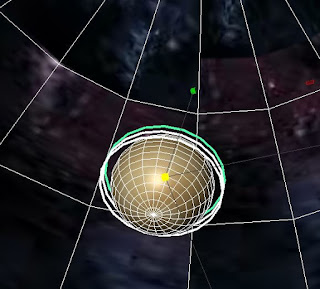
So to start the animation process I first had to create a new project file to be used for the scene. To add a background effect an easy technique to use is to create a hemisphere with a space texture effect, and add the texture to the inside of the half sphere.
 |
| Add caption |
Then the models need to be imported into the scene (File-Import). Upon importing my X-wing model I encountered an issue when trying to manipulate its angle.
As you can see each part of the ship rotated about there own separate axis, not ideal.
To fix this problem I went into each project file (x-wing, interceptor, millennium falcon) and used the combine tool to make the ships into one object.
 |
| Combine Interceptor |
 |
| Combine X-wing |
 |
| Combine Millennium Falcon |
 |
| Planet creation |
 |
| Create Layer |
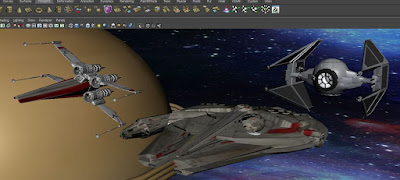
Now I have all the elements I need to move to the next stage, setting up the lighting.
 |
| Ready for lighting |
 |
| Add camera |
 |
| Lights casting shadows |
 |
| No shading |
 |
| With shading |

No comments:
Post a Comment